What supplies do I need for applying wood veneer on furniture?
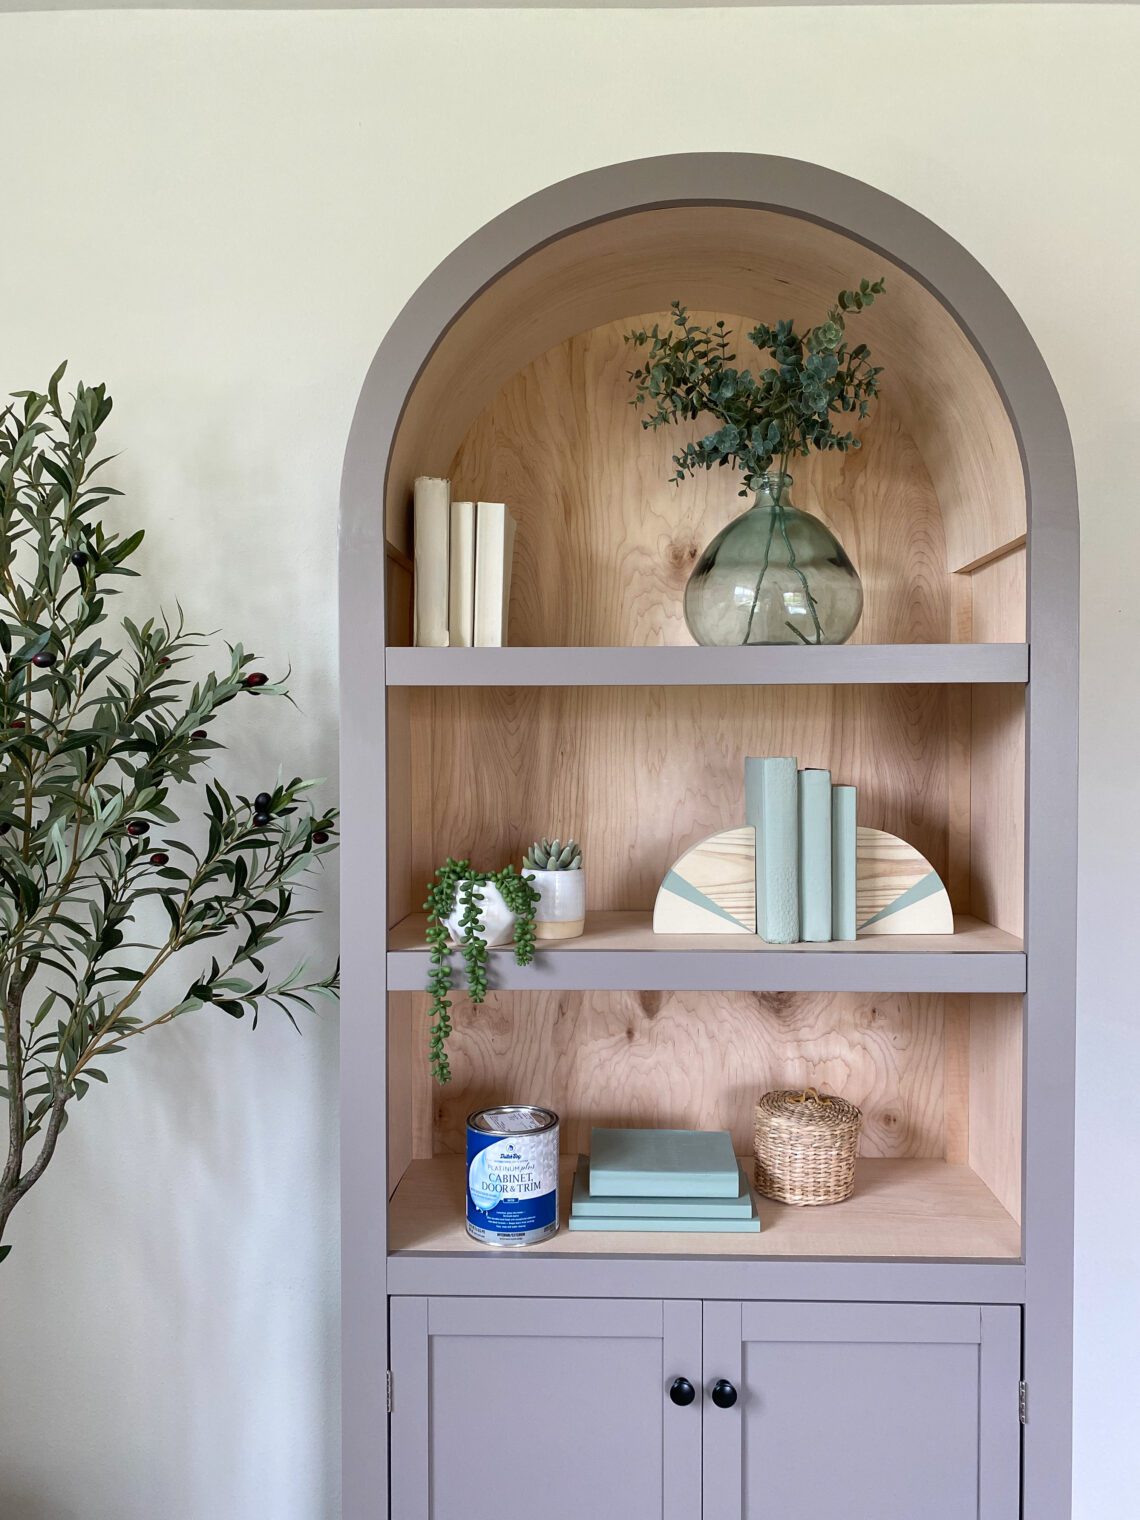
Wood veneer is a great way to make cheap or damaged furniture look new and high-end! Below are the supplies you’ll need to get started.
- The actual wood veneer! There are many choices in wood veneer: different wood species, different application requirements (peel and stick vs. applying with contact adhesive), and different sizes. The wood veneer I linked here is maple wood (it’s GORGEOUS!) and you apply it with contact adhesive. I’ve heard mixed reviews about the peel and stick wood veneer so I prefer this one instead.
- Contact cement: This is what you’ll use to adhere the wood veneer to the furniture. I prefer the nonflammable type because it makes me less nervous that my house is going to explode – hah!
- Roller frame and mohair roller cover: You’ll need this mini roller frame and roller cover to apply the contact cement. It’s important because it will help you cover the entire surface (not miss any spots) and it applies it evenly as well, which can help prevent air bubbles or lumps in your veneer.
- Paint pail: You’ll want this to put your contact cement in and it fits the mini roller perfectly.
- Veneer Edge Trimmer: You’ll need something to trim off the edges of your veneer. I must say that I HAVE NOT TRIED this one! I bought one that was terrible and wasn’t meant for the thickness of the veneer I bought. Therefore, I’m not linking that one. I’m linking this one that I think is better but I haven’t tried it yet. So buy at your own risk 🙂 or buy if it has free returns for you!
I think that’s about all you need! If you try using wood veneer on your furniture flips, I’d love to hear how it goes. It take a few tries to really get good at it (like most things). At the same time, I was happy with my result from the first attempt – just got a bit better at it over time 🙂
If you try peel and stick veneer, I’d also love to hear how that goes for you!
Happy furniture flipping!


