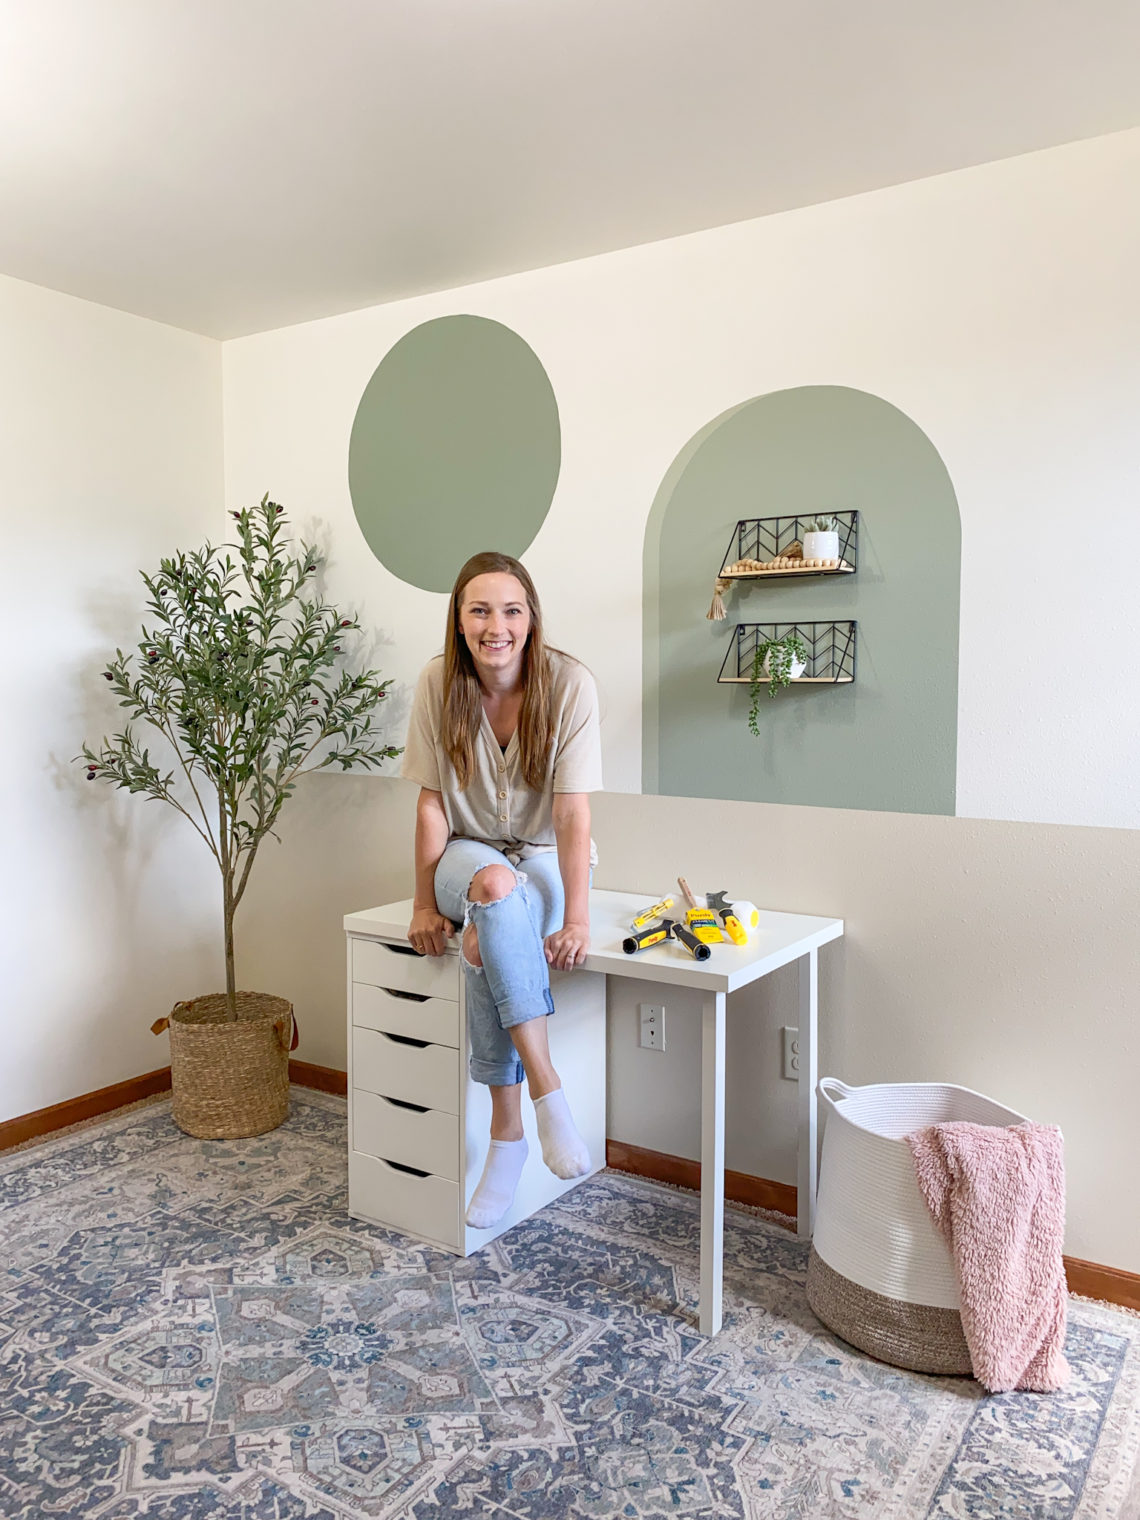
How to Paint a Perfect Circle Feature Wall – Plus Lots More Painting Tips!
Painting might initially seem pretty simple but once you get going on it, you might realize that the paint isn’t covering well, you are getting paint all over the trim or your fun geometric designs don’t have crisp, clean edges. Don’t worry, I’m here with all sorts of painting tips for you! I’ll be sharing with you everything from how to choose the right paint brush to how to clean and store your brushes so they last for years. Also, I’ll be walking you through how to paint a perfect circle feature wall (because color blocking always add a ton of fun and dimension to a room!).
Thanks to Purdy for sponsoring this post. I received compensation but all opinions stated here are my own. This post contains affiliate links which means that I may receive compensation when you click on links. This is no extra cost to you.
How to Paint a Perfect Circle Feature Wall
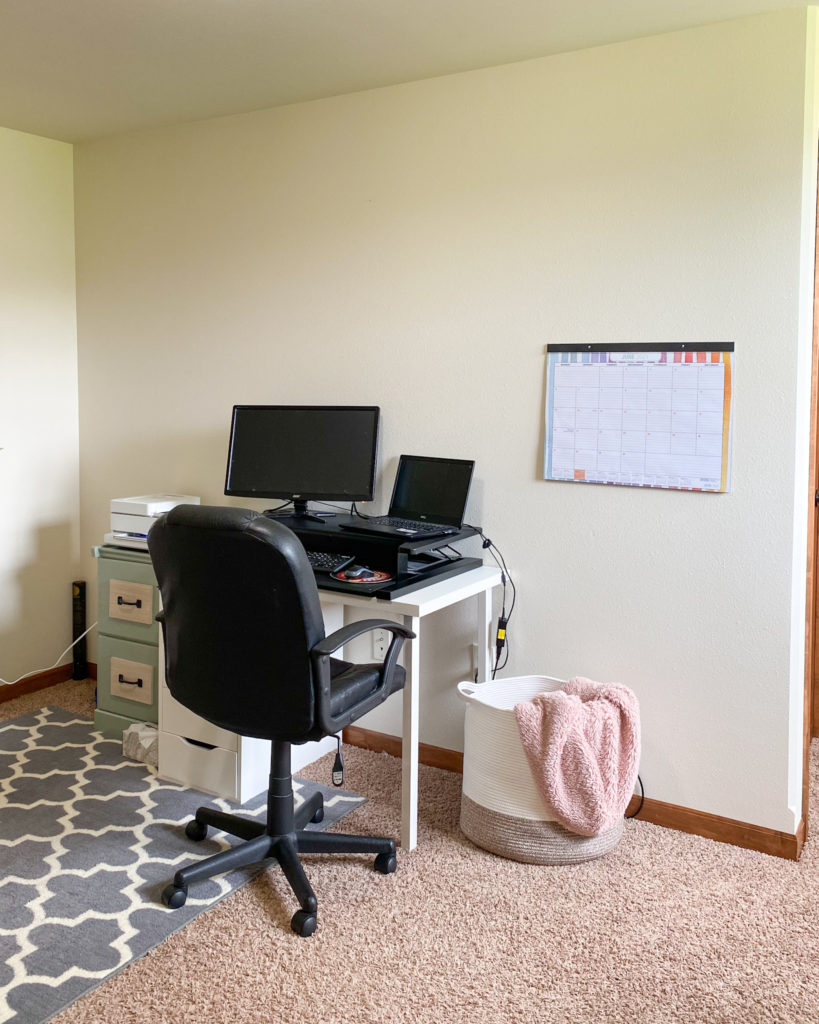
Before we get into the details of how to paint a perfect circle, let me show you the wall I am starting with. It’s in my office and is in desperate need of some excitement!
The secret to painting a perfect circle is the brush.
Years ago I used to use the same paint brush for everything. I didn’t realize how essential the right paint brush is! When trying to paint crisp, clean lines (ex. color blocking, cutting in around trim, etc.), you will want to use a Purdy Clearcut Elite Glide brush. This brush is specifically made to have superb cut-in ability. Head here to find out where you can buy this brush and other Purdy products.
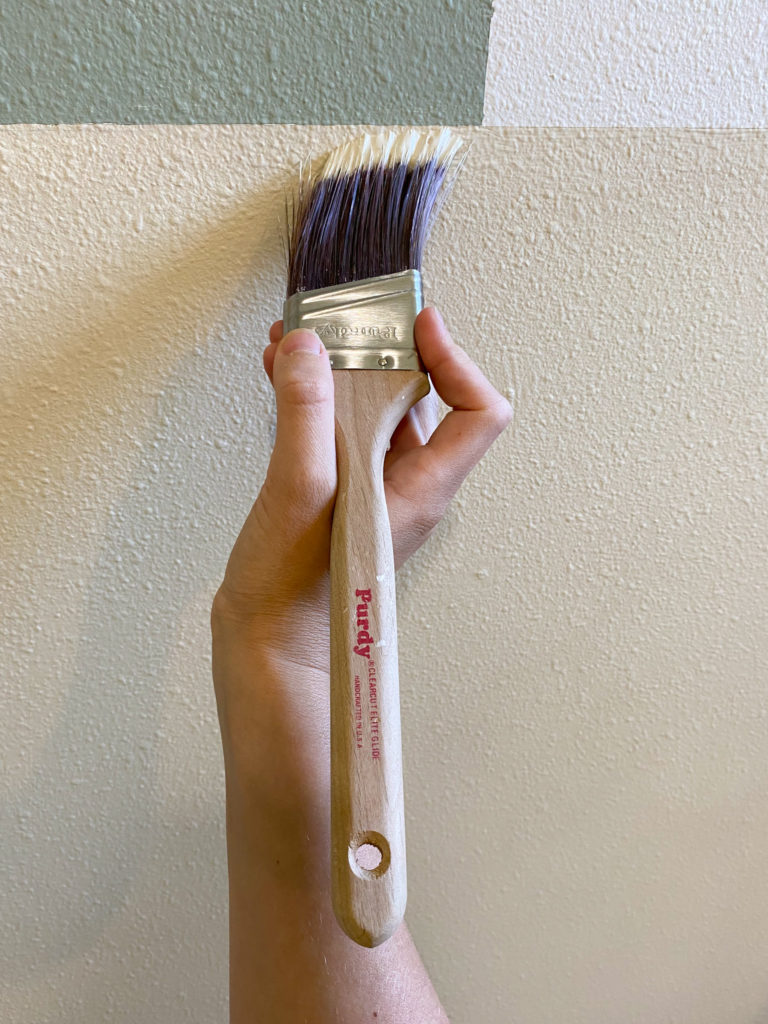
The secret: very stiff bristles. Stiff bristles are great for creating crisp, clean paint lines. On the other hand, soft bristles are amazing for creating a very smooth finish, like when you are painting furniture. When painting furniture and wanting to get a really smooth finish, consider using the Purdy Nylox brush, which has very soft bristles.
Curious about Purdy? To learn more about The Purdy Difference and Purdy products, click HERE. Their products are so high quality and wonderful for all types of painting!
Before you start painting your circle, draw a circle onto the wall using a piece of twine or string, a nail and a pencil.
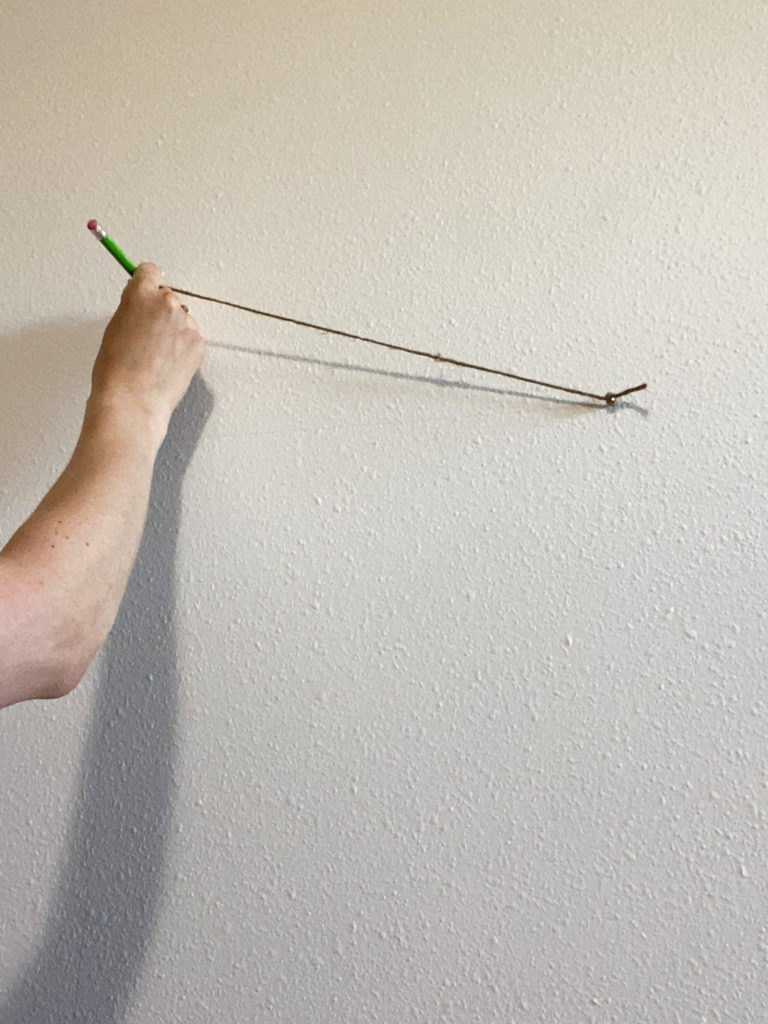
Tie one end of the twine to a nail. Put the nail where you want the center of your circle to be. Tie a pencil to the other end of the twine, paying attention to how long the twine is. The length of the twine will be the radius of your circle. Draw the circle on the wall with the pencil.
Next use your Purdy Clearcut Elite Glide brush to paint the circle. Make sure to take a deep breath and slowly let it out as you paint the edge of the circle. This will help your hand be steady as you paint. Also, make sure to have enough paint on your paint brush to get a solid, crisp line.
Depending on the size of your circle and other elements of your color block design, you can either use a:
- Revolution 9″ roller frame with a White Dover roller cover OR
- Revolution jumbo mini roller frame with a White Dove roller cover
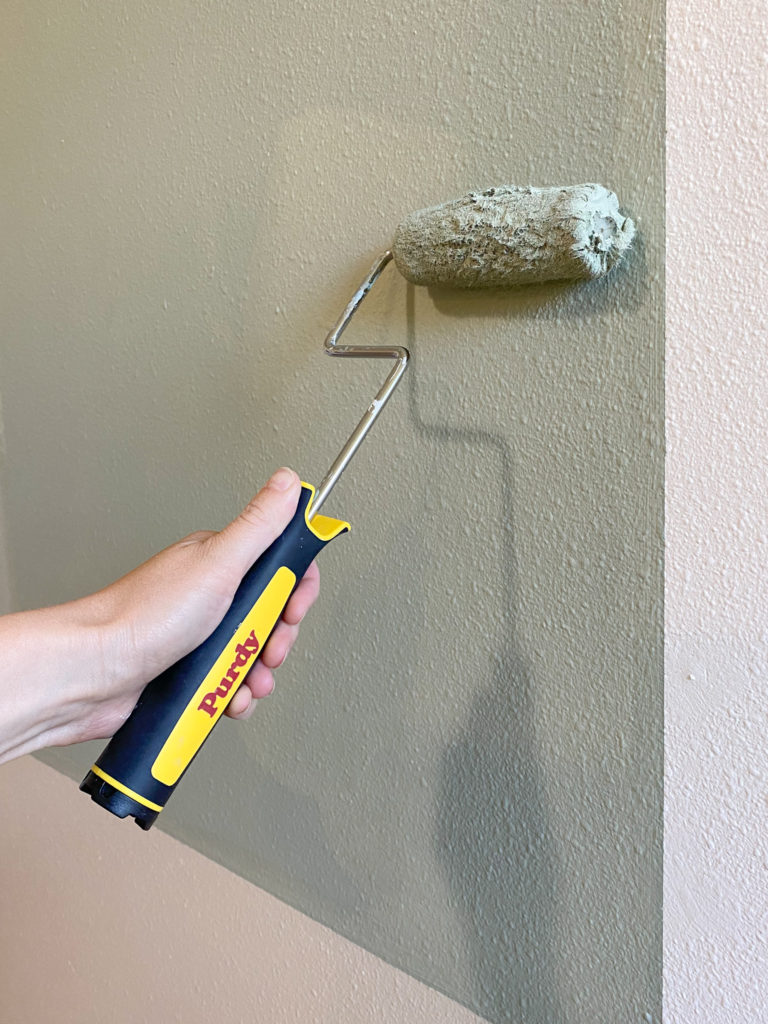
The Revolution roller frames are really lightweight and easy to use. The White Dove roller covers are my absolute favorite. I use them every time I paint a wall. They are lint-free and perfect for painting slightly textured walls. When I paint ceilings, I add on the Purdy Power Lock Extension Pole so I can easily reach.
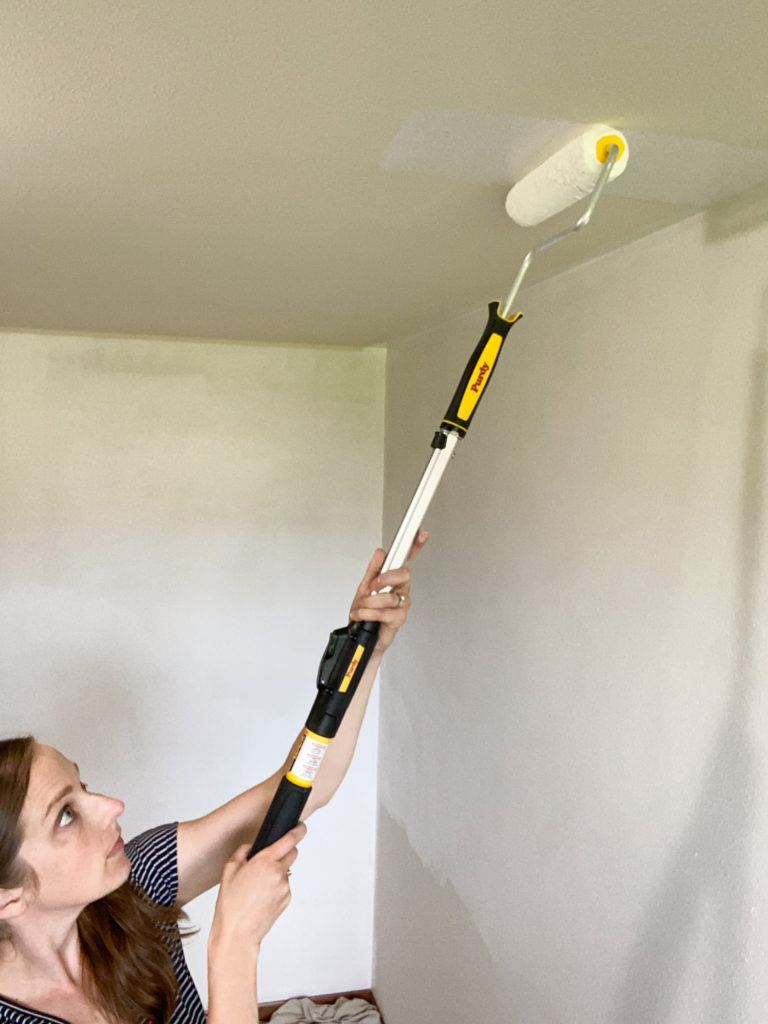
I applied two coats of paint to each section of the room. This project took about 2 days to complete, allowing for dry times in between coats.
With these tools and a few paint colors, you can easily create a wide variety of fun color block designs, like this one I just painted in my office.
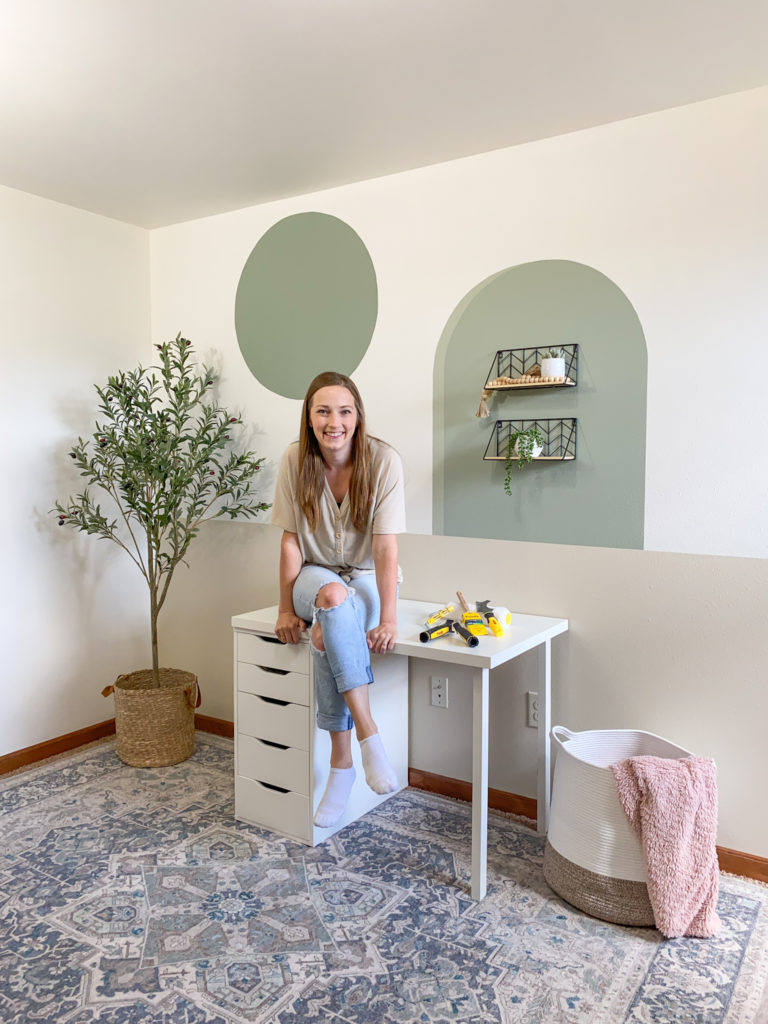
This is so much better than the “Before” view of my office, right?!
If you want to know more about finding the right paint brush and roller for your upcoming painting project, check out the Purdy Tool Selector!
How to Clean a Paint Brush
If you want your paint brushes and roller covers to last a long time, the key is cleaning them really well. It’s not hard – you just have to be dedicated to doing it before the paint dries.
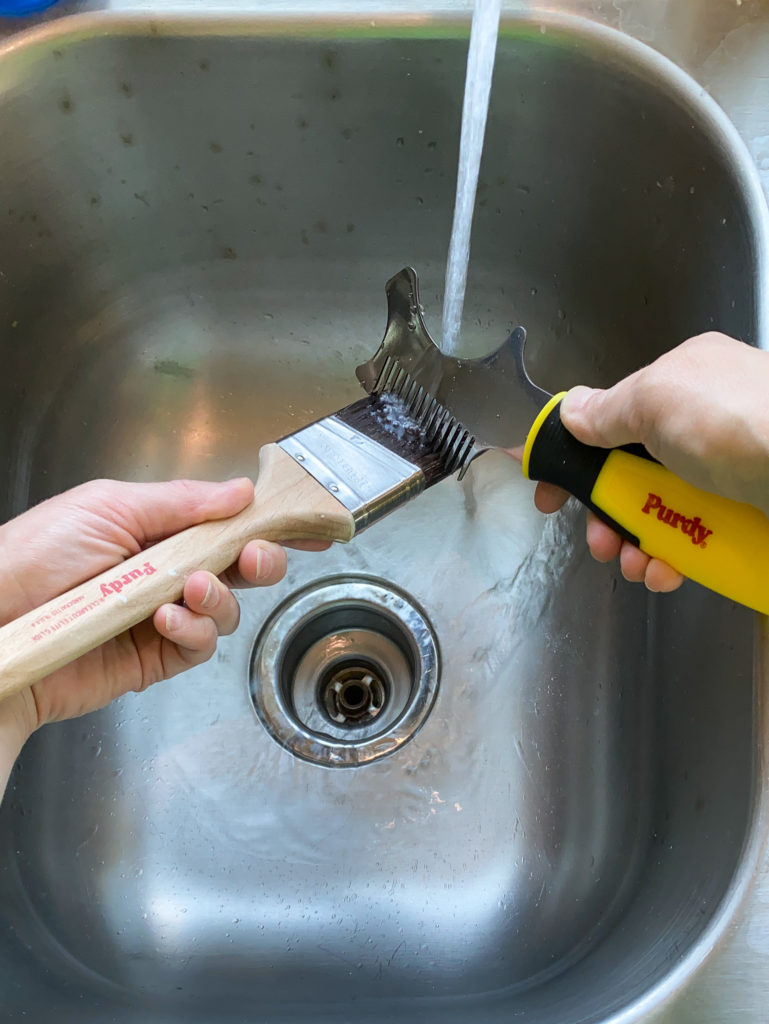
For a paint brush, use a mild soap and warm water. Use a Purdy Brush and Roller Cleaner to remove all of the paint from the brush, including the paint that is on the inside of the bristles. Make sure that all of the paint is removed. Then shake the excess water off the brush and let it dry. Once dry, place it back into it’s brush keeper.
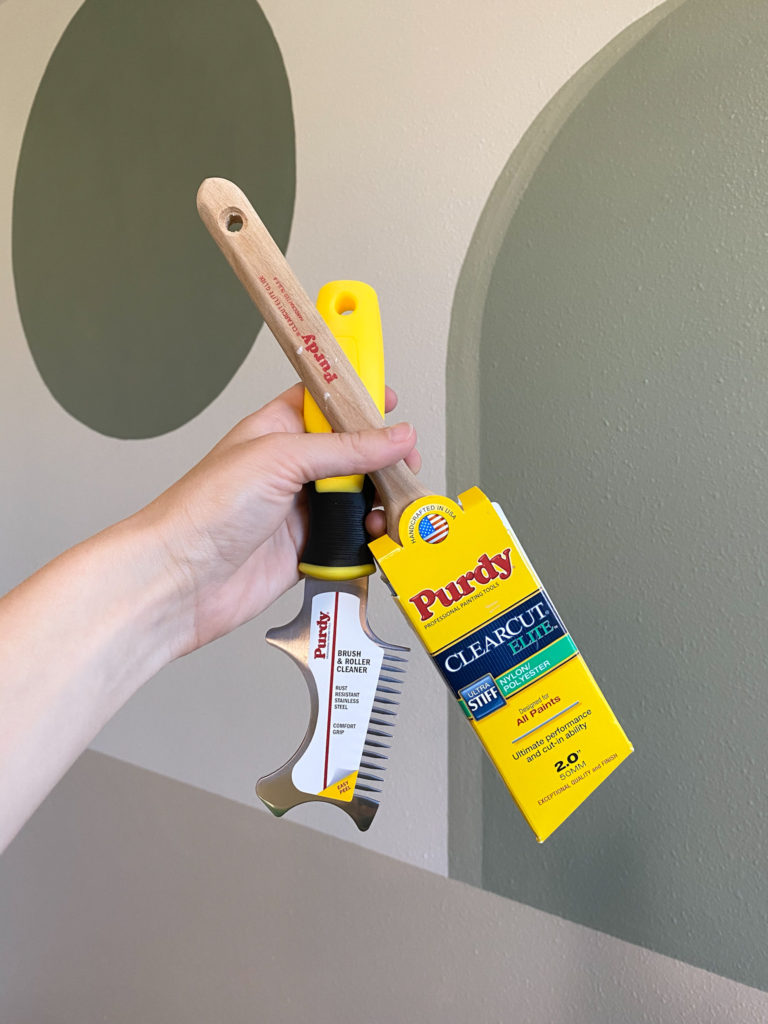
Wait. What’s a brush keeper?! It’s simply the packaging that the brush came in. When you buy a Purdy paint brush, make sure to keep the brush keeper. By storing your brushes in their keepers, the brush bristles will retain their original shape better. Also, the keeper helps keep the brush clean when not in use.
How to Clean a Paint Roller Cover
Did you know that you can clean a paint roller cover?! I had no idea until about 2 years ago.
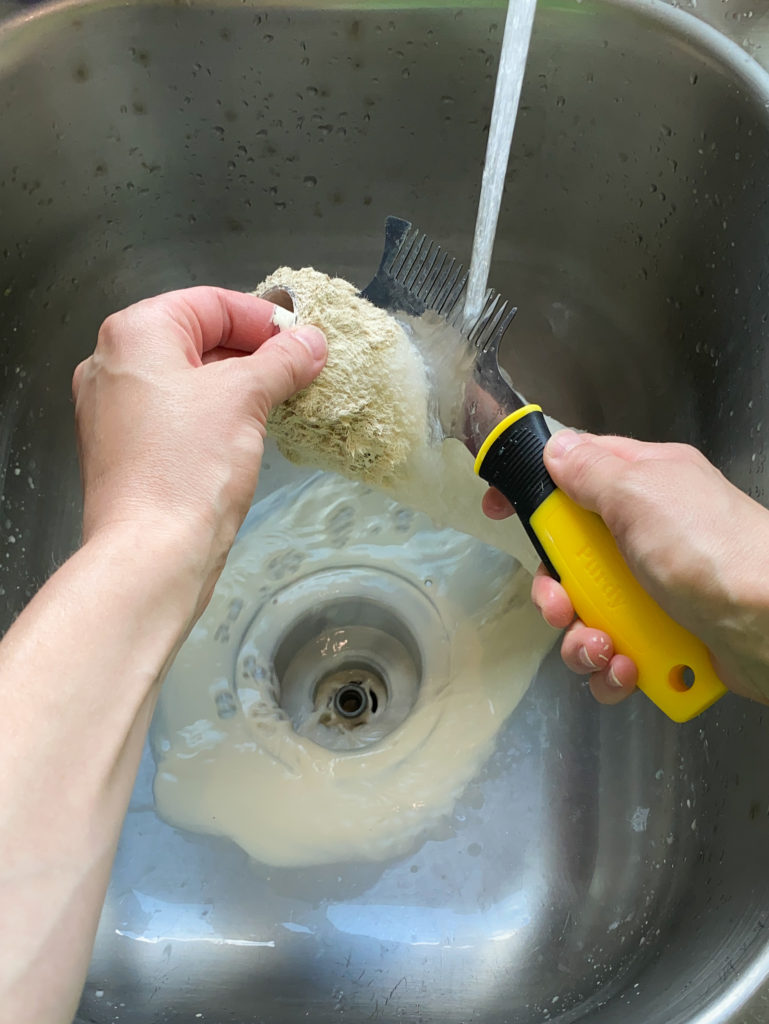
If you want to save money on roller covers, simply wash them and reuse them. Once you are done painting with a roller cover, use the semicircle side of the Purdy Brush and Roller Cleaner to push out any excess paint. Then run warm water over the roller cover, slowly pushing out all of the paint with the semicircle side of the Purdy Brush and Roller Cleaner. Once all of the paint is removed from the roller cover, let the roller dry out before storing it.
What Other Painting Questions Do You Have?
If you have other painting questions or dilemmas, feel free to message me or leave your questions in the comments. Always happy to share what I’ve learned so far.
More Painting Project Ideas!
Another color block wall – but this one reminds me of Neapolitan ice cream 🙂
Learn how to paint your outdoor patio furniture, using the right Purdy products to make sure it’s durable and looks great.
Thinking about painting your bathroom or kitchen cabinets? Check out this tutorial to get a super smooth finish.


8 Comments
Cindy
Great job and you shared wonderful information.
admin
Thanks, Cindy!
Lela
Love how the wall turned out! And I need to get one of those paintbrush cleaning tools! I just finished painting a room and cleaning the brush was so frustrating. Thanks for sharing!
admin
Thanks, Lela! Yes, that brush and roller cleaner is SO amazing. Makes cleaning brushes a lot easier – and keeps your paint brushes nice for YEARS. Have a great weekend!
Marie
Your circle really is perfect. So many great tips! Thanks for sharing .
Paula@SweetPea
Great painting tips! I need to invest in a brush cleaner. I do a good job without one but a tool would be so much easier. Your office looks great!
Melba
Such great tips! I love that you went all the way through to cleaning your brushes. Great post!
Jen
Oh my goodness! This is a perfect accent wall. Thanks for sharing your technique. Now my wheels are spinning about where I can do this in our new house!