How to Throw a Toddler Birthday Party – The Easy Way!
Before I had kids I thought I’d hate throwing kids’ birthday parties. The thought of spending hours cutting out and painting cardboard so that it looks like a doghouse or something else random sounded painful! Well, turns out I really love throwing birthday parties for my toddler. Why? Because I do it how I like to do it. I do what works for me. Do I spend hours cutting and painting cardboard? Nope! Should other people? Sure, if they want to! For me, here are my three best friends for party-throwing:
Seriously. So easy. Then I can focus on the fun parts – the excitement of my toddler and the happiness of getting those you love together to celebrate.
I recently threw a Paw Patrol party for my 3-year old and below are all the details and links to make it super easy for you too!
Invitations:
I have this great love for snail-mail invites, especially beautiful customized ones. I use Etsy for this since they have great options. Here is a link to the ones I ordered. They turned out beautifully! (By the way, I blocked out the address on them in the below picture so that’s why you see the weird black box in the lower left corner). 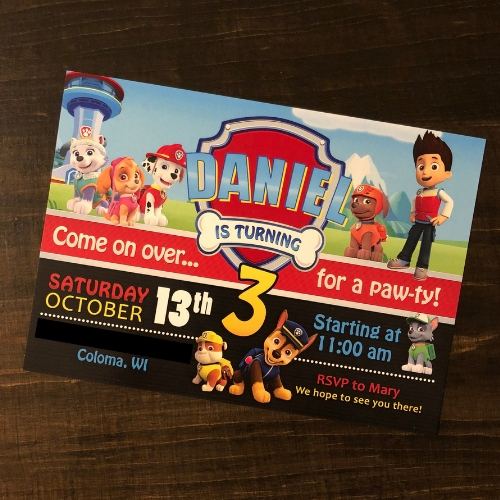 The only bad part about snail-mail invites is that you have to plan ahead (to get them ordered, made, shipped to you, addressed and sent out to people and get the RSVPs back). If you don’t have the time, just keep it simple and use Evite! Done in a few minutes then ?
Party-Planning:
I spent an hour on Pinterest and Amazon Prime one morning while my kiddo watched cartoons. I literally ordered everything I needed for the party but the food. It was incredibly easy! And I did it a week before the party (clearly planning ahead isn’t always necessary ?). Also, no need to re-invent the wheel – use all those fabulous ideas all over Pinterest! Also, Amazon Prime is amazing in that once you buy something it tells you “Other people who bought this also bought…” so I literally just went from one item to the next, filling up that virtual shopping cart! It all arrived within the next 4 days (one item took longer than the standard 2 days) I then had décor, a pinata, items needed for the cake, food-holding containers, plates, forks, etc. Below are all the items I purchased, with links in case you want to take a closer look:
Marshall Pinata
Paw Patrol Plates & Napkins
Paw Patrol Table Cloth
Paw Print Decals
Paw Patrol Hanging Swirl Decorations
Happy Birthday Paw Patrol Banner
6 Ft Tall Paw Patrol Wall Banner
Streamers
Glow Sticks (for a non-candy pinata add!)
Candy for Pinata (whatever you want of course!)
Paw Print Balloons
Dog Bone Cookie Cutter
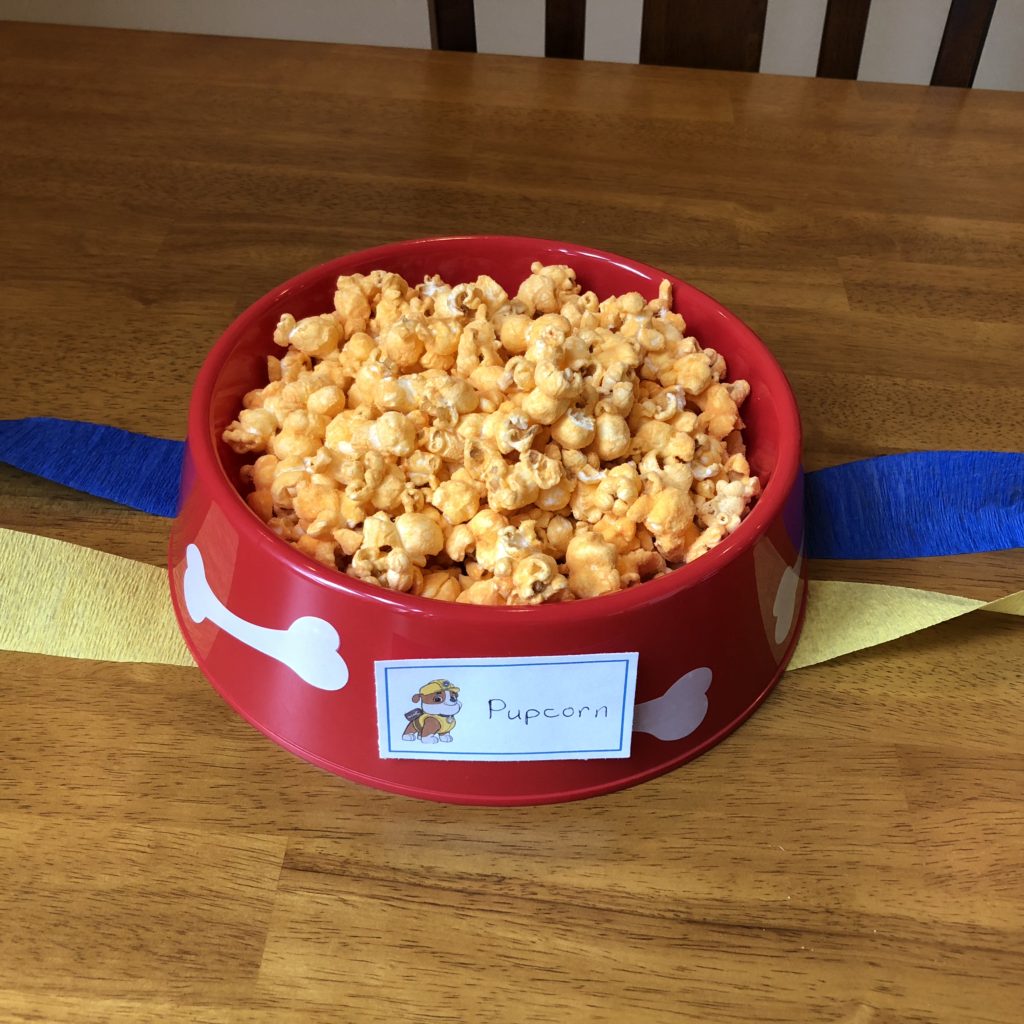
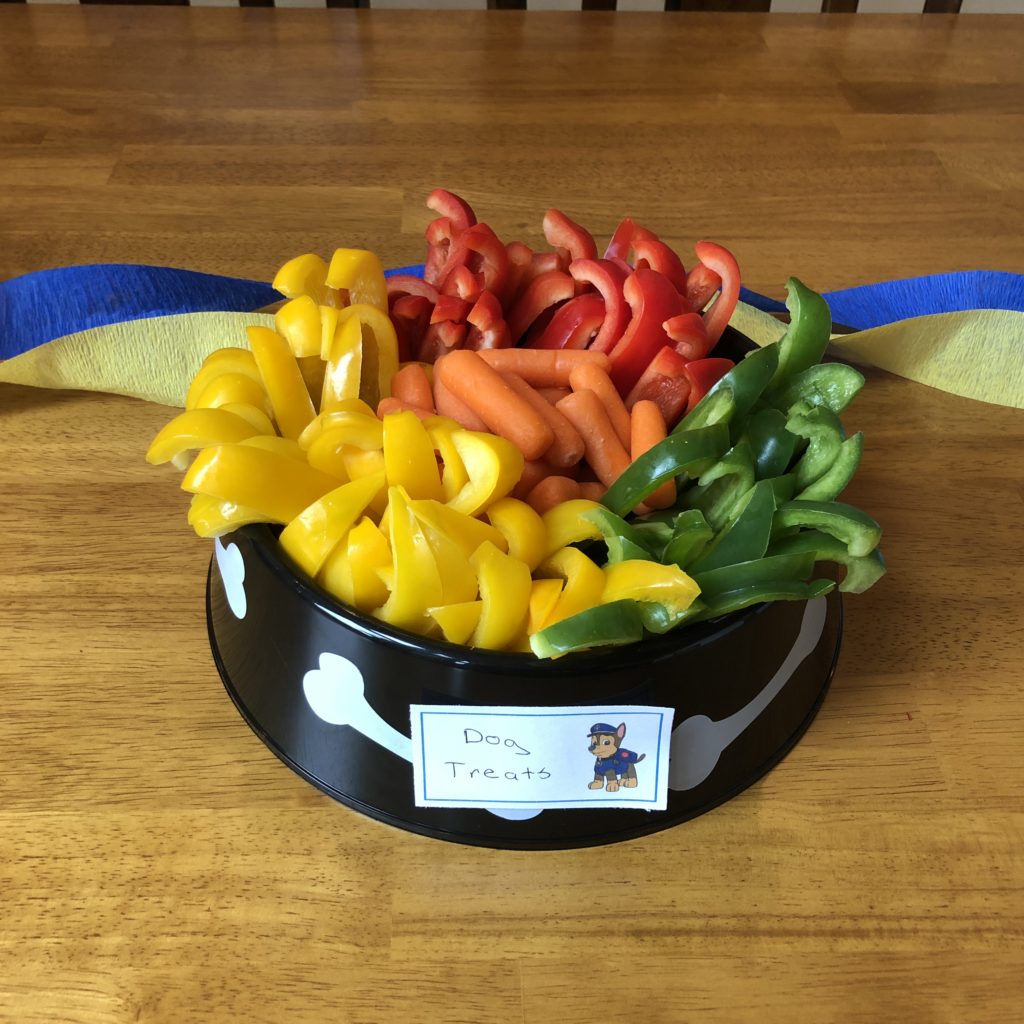
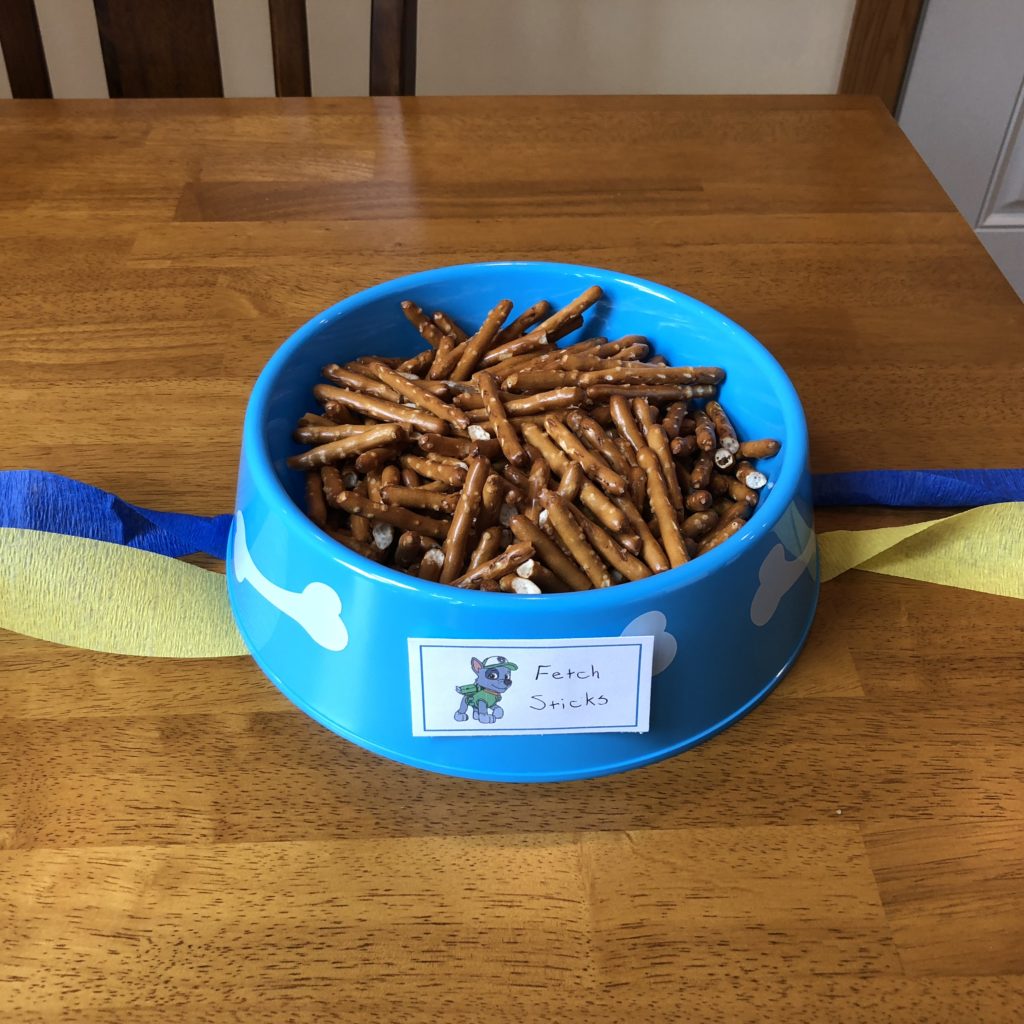
Dog Bowls
Rubble Bulldozer (I used this as a cake topper..keep reading!)
Rocky Garbage Truck (also used as a cake topper)
Chocolate Rocks (for the cake….these look so realistic, it’s amazing! they also taste good – I know, shocking!)
Décor:
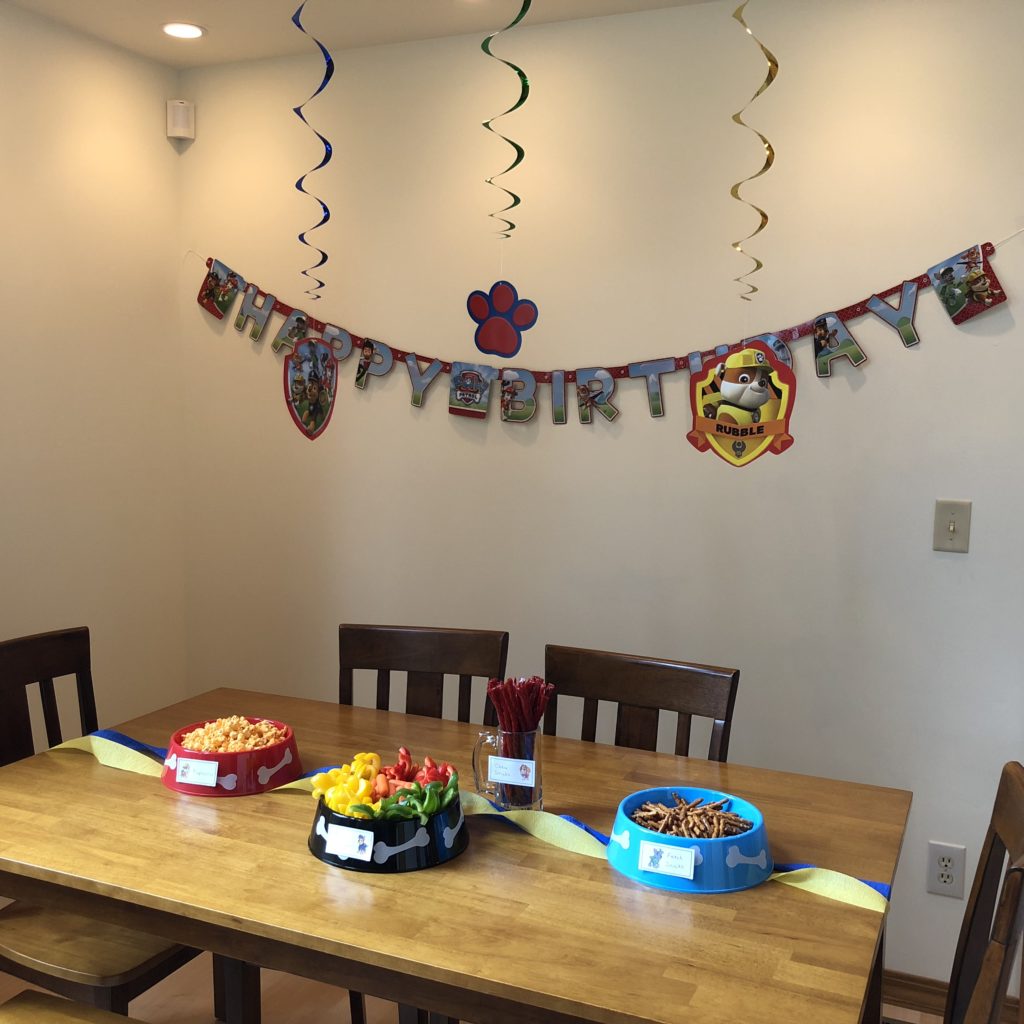
My philosophy here is to choose a theme with a lot of décor items available to purchase fully made. That way you don’t have to make your own unless you really want to. You can always make more of your own if you want to be really unique but what I do is: 1) Buy a lot of décor fully made and then 2) Buy a few unique items like the paw print floor decals and the dog food bowls (a few things that make people think “Aw, these are really neat!” or “That’s a fun use for those!”). Below are a few pics of my decor – nothing crazy but enough to make it festive.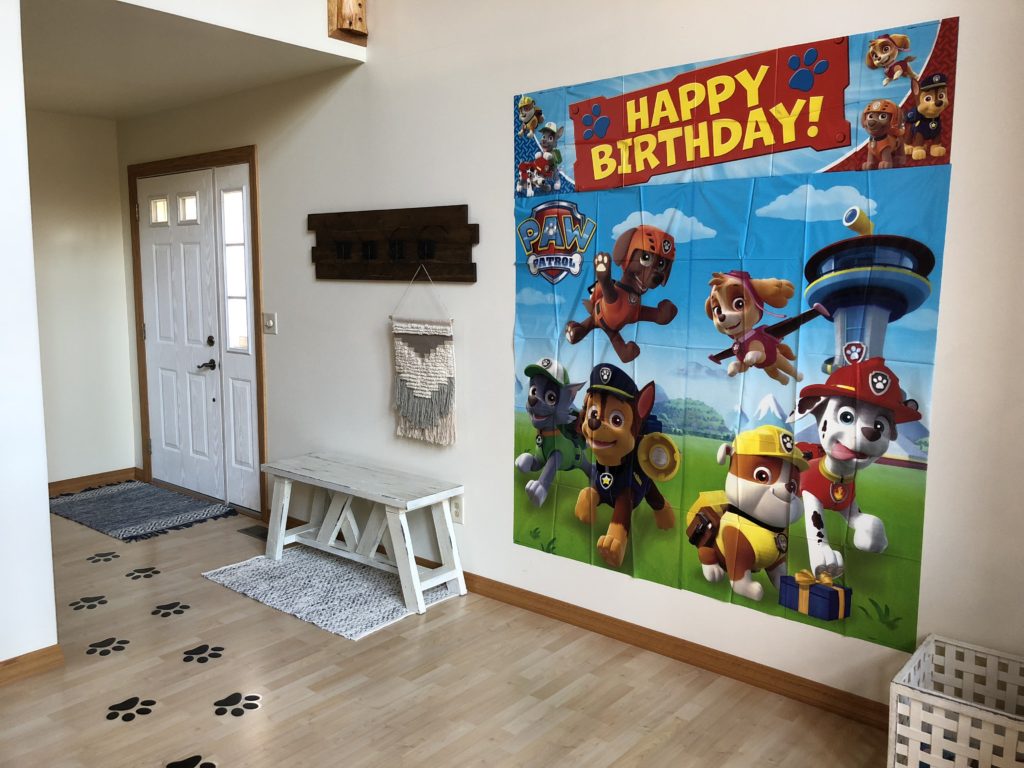
Cake:
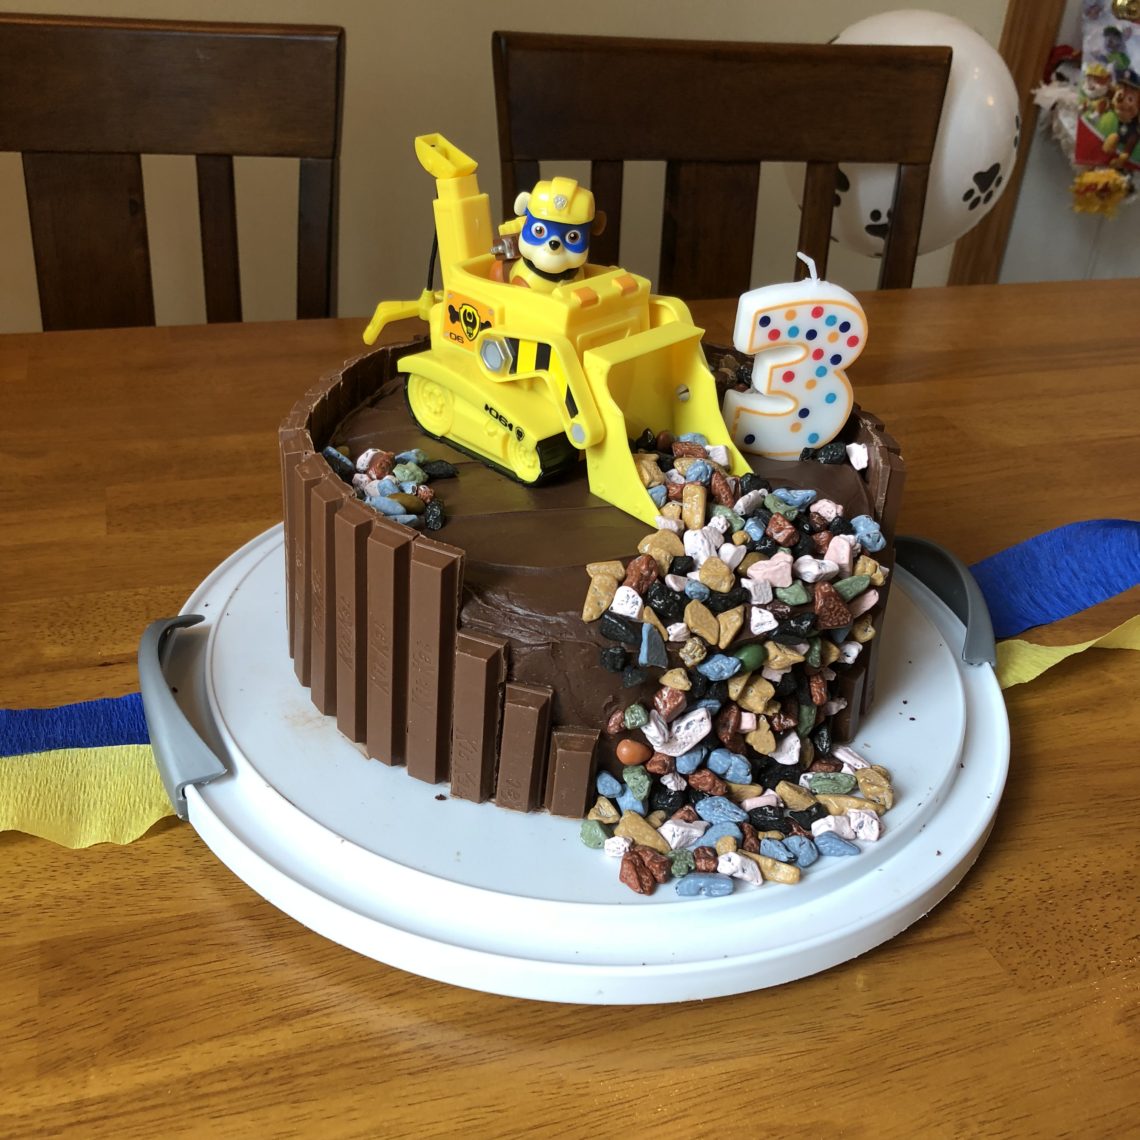
I love making fun themed birthday cakes but I lack the time to really make intricate ones. Therefore, I search for cakes that have figurines on them and then just require that you decorate around them. Check out my cake below, complete with a big Rubble Bulldozer on top. 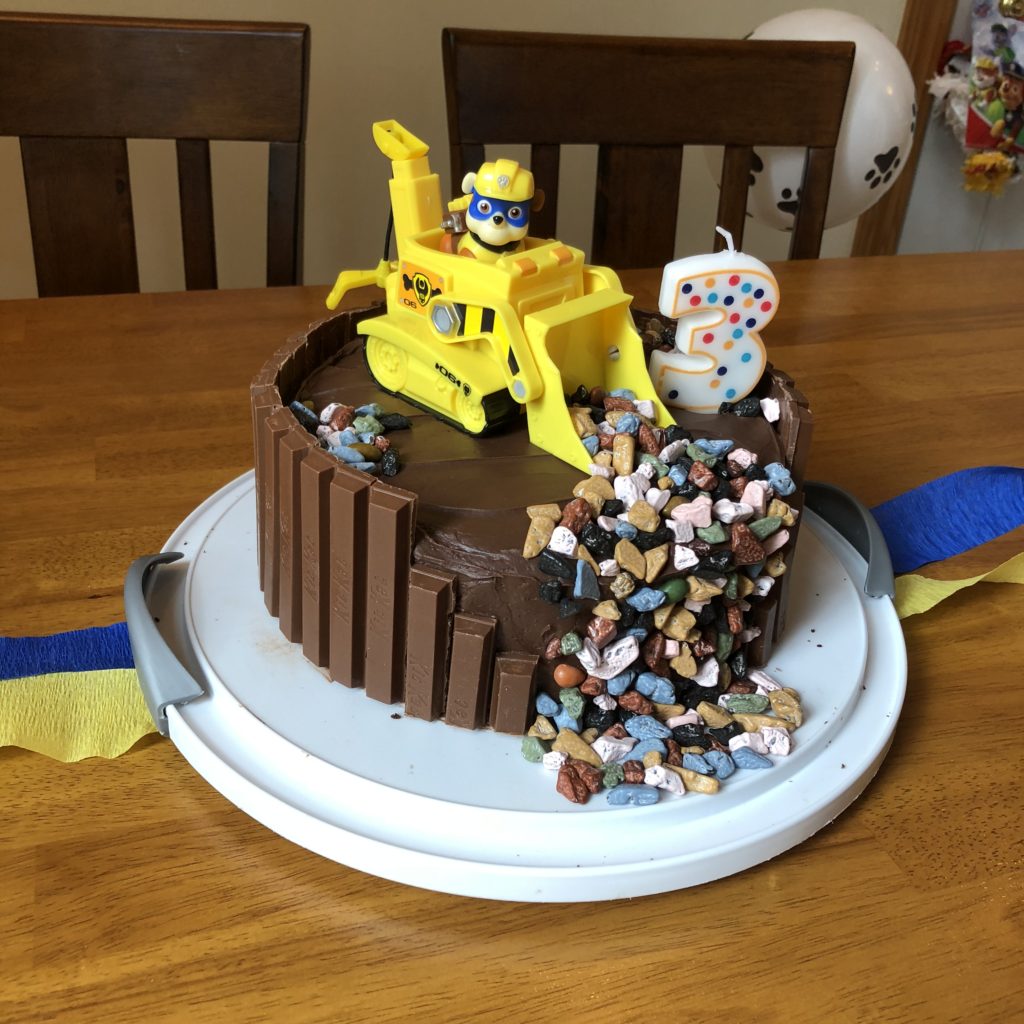 It was very easy and everyone thought it was really neat. My goal is always to: 1) Find a cake with a figurine/toy on it 2) Find a cake with a unique aspect (the chocolate rocks that looked just like real ones – they well surpassed my expectations!) and 3) Find a cake that won’t take much time!
I also love homemade cakes so I decided to spend the extra 20-ish minutes to make a homemade one rather than one from a box. Here’s the most amazing chocolate cake recipe. I’ve made it in the past and people always really like it!
I have yet to find a frosting recipe I love so I just use store-bought frosting.
Timing for the cake: For a Saturday-midday party, I baked the cake Friday morning, frosted it Friday evening and added the décor Saturday morning. I did this because I didn’t want to risk the Kit Kats getting all soggy from the frosting overnight (they probably would have been fine but whatever ?).
Food:
This one always takes me a bit of thinking and writing it all down. I find that if I don’t write it down, I’ll forget to order half the food and have to make a million trips to the grocery store, which is really inefficient for me. I try to make a main meal that 1) you can make ahead of time and will still taste good and 2) that most guests will like. For me, I had some guests who are gluten free so I wanted to have some food options for them without making two completely different meals. I settled on walking tacos. I wrote down everything I needed, ordered it from Walmart Grocery and picked it up 2 days before the party! See below for everything I made for walking tacos, plus the snacks and sides.
Ground Beef Taco Meat: I made the seasoning from scratch using this recipe. Therefore, it was gluten free and I could exclude some spices to accommodate a guest who has sensitivities to certain spices.
Chicken Taco Meat: Easiest recipe ever: Put the following in a crock pot on low for 6-8 hours: 4 frozen chicken breasts, a jar of salsa and a packet of taco seasoning. Shred the chicken and you’re set to go!
Taco Toppings: Lettuce, tomatoes, black olives, green peppers, shredded cheese, salsa, sour cream and guacamole (because I love quac oh so much!! And I love a million toppings for my tacos ?)
A variety of chips: Tortilla chips, Doritos and Fritos
Strawberries
Veggies with Dip: Baby carrots, sliced red peppers, sliced yellow peppers, sliced green peppers (I wanted a variety of colors without trying too hard ?)
Gluten Free Pretzels: No one could tell these were GF. They actually commented on how good they were and then were shocked to hear they were GF!
Gluten Free Cheese Popcorn: No one could tell this was GF either!
Licorice
Water bottles
Juice Bottles
Hot Apple Cider
(Tip: Have a sharpie marker ready for people to label their drinks. Otherwise you’ll have 100 nearly-full water bottles laying around after the party!)
Games/Activities:
I don’t like planning games. I’m just not a little kid teacher at heart and I’m okay with that. Like I said earlier, do what you want to do for kid parties and you’ll love them then! Therefore, I got a pinata and the kids loved it. Last year I also got temporary tattoos which kids also liked. Those were my games/activities, and everyone was happy. The kids just love running around playing with each other so give them room and toys to do that and everyone will be happy!
Schedule:
Here’s what I like to do for a schedule, which I find works pretty well.
11am Party Starts (gives you enough time in the morning to get everything ready last-minute)
11:30/11:45am Lunch (people will be late so this gives them 30-45 mins to show up; say hello to everyone and just relax a bit!)
12:30pm Pinata
1:00pm Present-Opening (which results in lots of playing with presents among all the kids ?)
2:00pm Cake-Eating! Yummmm
3:00pm The first-to-leave guests will probably start leaving and this way they didn’t miss anything ?
Rest of the afternoon & evening: Let the kids play, the adults talk and clean up at a casual pace!
I hope all this info helps you throw a great Paw Patrol party or gives you tips and tricks for throwing any kid’s birthday party. And remember, if you hate throwing these parties, modify what you do so you love it. If that means renting out a place and having it all taken care of for you, go for it! If it means having a small gathering with only your closest family, do it! Do whatever works for you and most importantly enjoy it ?
Disclaimer: This post contains affiliate links which means I may get a very small commission off any purchases made from my links – since I helped drive you there. It’s no extra cost to you of course!


One Comment
Cathy Duncan
Loved it. Looked like a great party. I loved the cake. Such cute ideas. You make everything look so easy. Tour little boy is one lucky boy to have such a creative mommy.